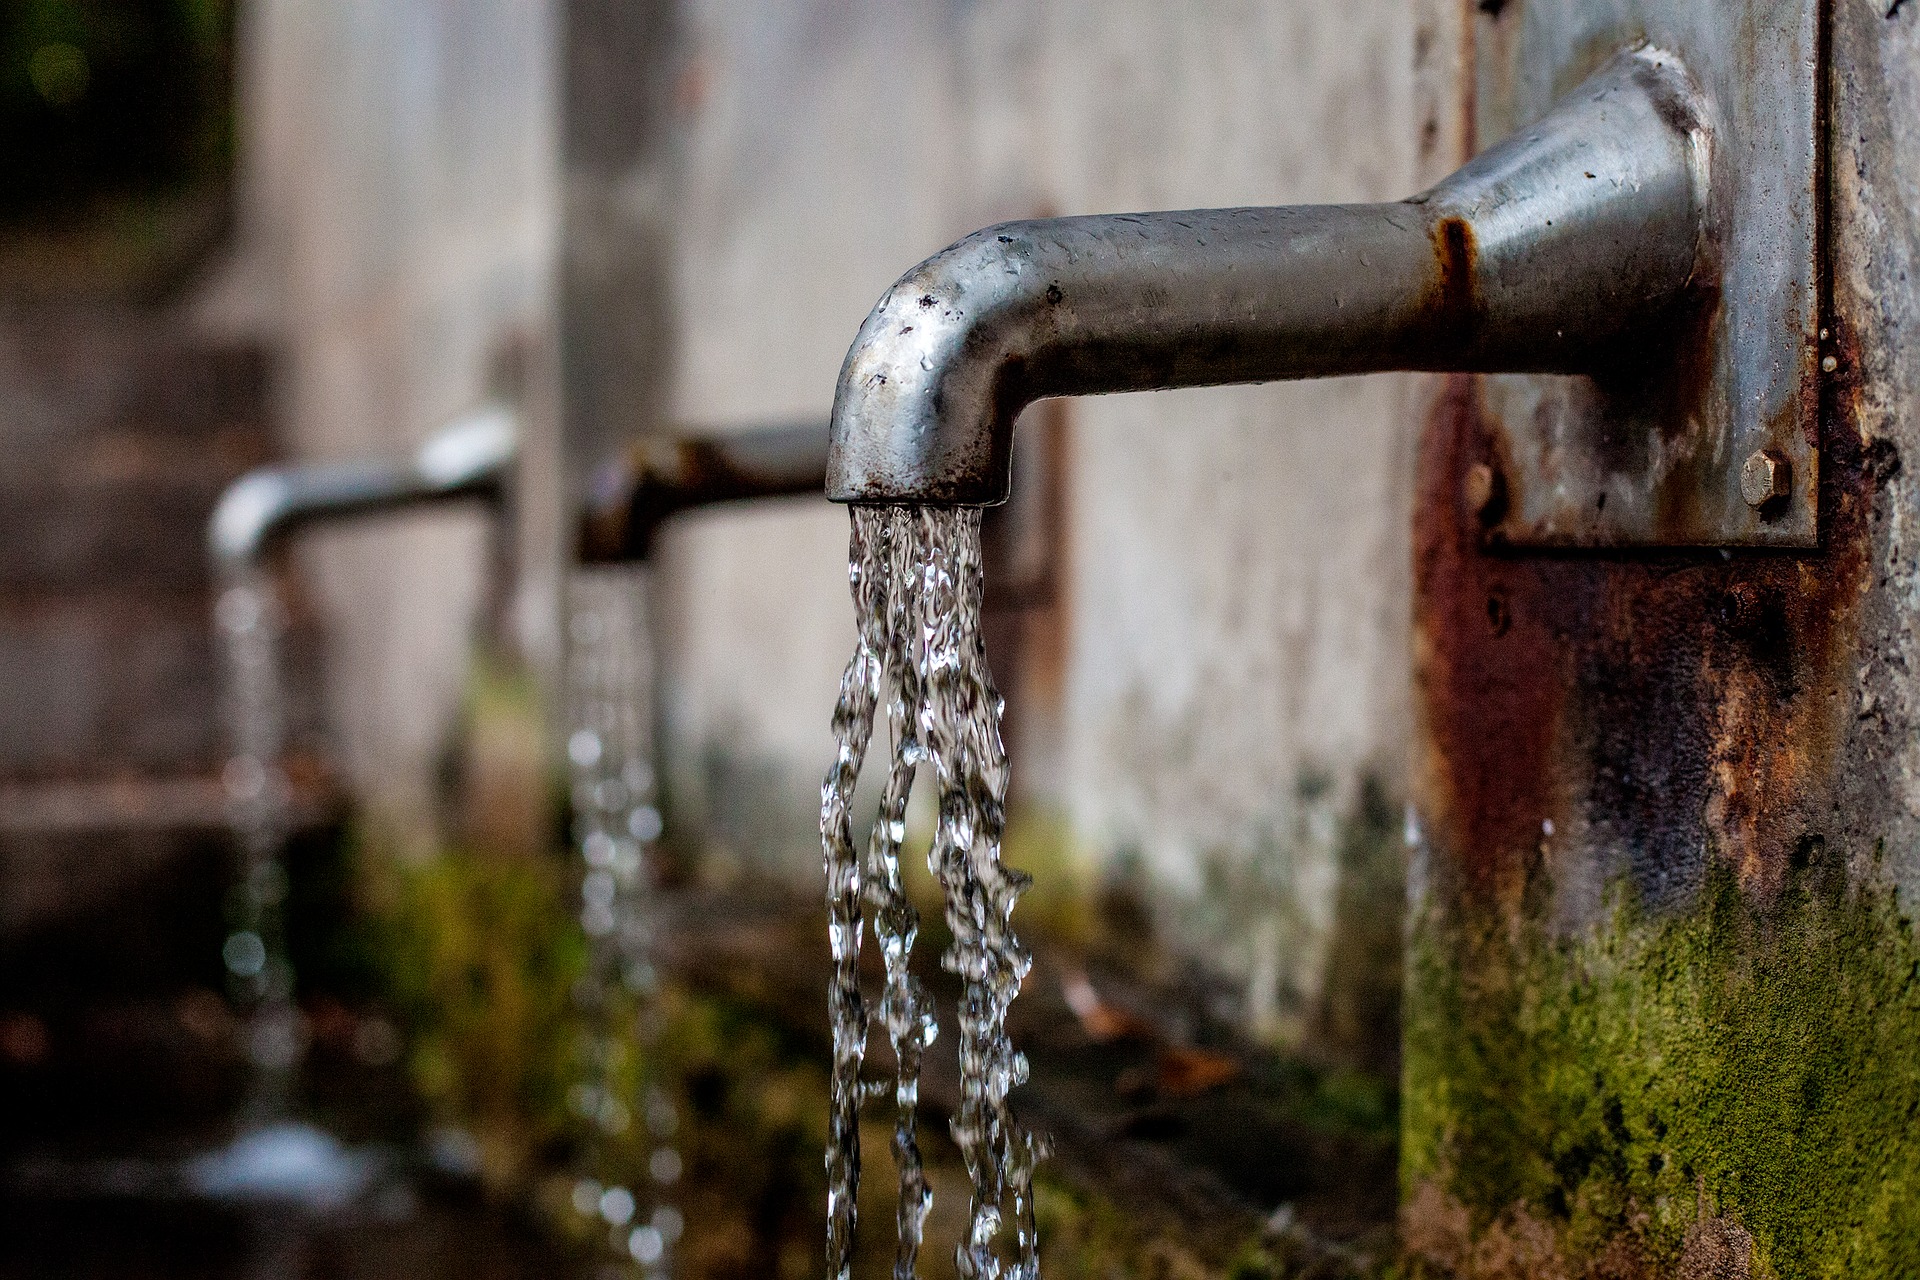
Centuries ago, one source of drinking water came from collecting rainwater in clay pots and barrels set outside during the rainy season. But with technological advancements over time, the increased pollutants and chemicals in the atmosphere have made rainwater an inviable source of potable drinking water. This has, in part, contributed to our over-reliance on freshwater sources for our drinking and even greywater. To help conserve the decreasing freshwater supplies the planet has, many are looking at the prospect of collecting rainwater and making rainwater drinkable again.
What are the readily available methods of purifying rainwater on the market? What’s the best among them all? Is it a necessity? In today’s post, let’s take an in-depth look at some of the common types of rainwater purification most homeowners can acquire.
What to buy first: Rainwater tanks and filters
So you’ve decided to harness the potential of rainwater at home. Good news, there are a lot of rainwater suppliers that offer rainwater tanks perfect for smaller homes and properties in urban areas. Slimline rainwater and under deck tanks are ideal since they prove to be the cheapest and take up the least space in your property. After getting a rainwater tank, your next focus should be acquiring the necessary filters to separate the initial gunk out from the rainwater.
For simple rainwater collection, a 50-micron filter is initially needed with the mesh screen from your rainwater conveyance system. As these filter out larger debris and particles, these filters need to be cleaned at least quarterly. Additional 20-micron filters come after these larger filters, and finally, 10-micron filters are needed to keep finer material out, although these filters still need annual cleaning. Keep in mind, though, filtration will not eliminate microorganisms found in the water; rather, this only help keeps out larger debris.
Cheap and easy: Chlorine
The cheapest and most easily available purification method there is chlorine, which has been used as a disinfectant in past decades. For purification purposes, you need 2.3 fl oz of chlorine per 1,000 gals of water. Keeping the dosage correct is vital due to chlorine’s reactive nature, which could easily combine with some organic matter to create compounds like chloroform. Additionally, to remove the chlorine smell and aftertaste, additional activated carbon filters are needed.
Not-too-cheap alternative: Ultraviolet light
Another alternative to purifying and disinfecting rainwater is ultraviolet light, which has been readily available for more than 50 years. UV lights penetrate the cell walls of organisms and disrupt their genetic makeup, which then disables the microorganisms’ ability to reproduce. This works in tandem with filters as the rainwater must pass through the filters first.
If your system does not have filters, sediments and pathogens will cast shadows in the flowing water, which allows the organisms to pass through the UV light component virtually alive. Make sure to replace the bulb after every 12 months, clean the glass enclosure occasionally and check if the UV light is working properly so your system works optimally.
Some assembly needed: Membrane filtration
Costlier than the aforementioned alternatives, membrane filtration pushes water through a layer of material that separates the good (clean, drinkable rainwater) from the bad (physical sediments and biological matter). The most common pressure-driven membrane filtration systems include the following:
-
Microfiltration. Uses membranes with pore sizes ranging from form .03 to 10 microns. Good for removal of sand, silt, clay, algae, cysts and some bacteria.
-
Ultrafiltration. Even smaller pore sizes from .002 to .1 microns. Removes material that can be removed by microfiltration as well as some viruses.
-
Nanofiltration. Pushes water through a membrane with a pore size of .001 microns. The smaller the pore size, the more expensive the system is, but nanofiltration essentially removes all that can be removed by microfiltration and ultrafiltration, including minerals. This means the purified water will have a low pH that can be corrosive to your pipes, which will then need remineralisation (common material used is limestone) to raise the water’s pH to a neutral level.
-
Reverse osmosis. Most widely used but the most expensive. Under-the-sink units cost about $1,000 USD (about $1,500 AUD) and whole-house units cost about $8,000 USD (about $11,600 AUD). Even though RO units remove radium, microorganisms, pesticides, bacteria and everything in between, it does so at the cost of producing wastewater. This wastewater contains a high concentration of the mentioned contaminants, so planning on how to reuse this now greywater source must be included when deciding on an RO unit.
One-time investment: Distillation
Distillation is the cream of the crop but comes at a high price and energy usage. Distillation works by heating the collected rainwater, collecting the condensation—thereby eliminating almost all substances except some volatile organic chemicals—and then storing the purified water in a separate tank for later consumption. The units that produce about 5–12 gal of water every day will set a homeowner back some $2,000 USD (nearly $3,000 AUD), while high-end automated units double that price.
Regardless of the purification system you choose to work in tandem with your rainwater collection system and tank, there is no putting a price on renewable, safe, drinkable rainwater and conserving freshwater supplies. Choosing to go with doing more with rainwater may be a sizeable investment initially, but this pays dividends in the long run.


Leave A Comment